October in BakePress: Stencil, Texture Stamp and more control
Meet Stencil and Texture Stamp in Beta, plus more cutter controls, easier collection downloads, twelve built-in texture patterns and a refreshed Dreamboard.
Published
Your artwork can become two more kinds of tool in BakePress. Stencil turns a design into a cutout sheet for decorating and craft projects. Texture Stamp turns artwork or a built-in pattern into a flat plate for pressing texture into clay.
Both arrive in Beta this October. Alongside them, you have more control over cutter blades and grips, more flexibility when downloading a collection, and clearer ways to start and organise your designs.
Stencil: make a cutout sheet from your artwork
Start with a logo, drawing or pattern. Use one design or repeat it across a sheet, then choose a rectangular, round or fitted outline. Set the size, spacing and sheet thickness to suit the project.
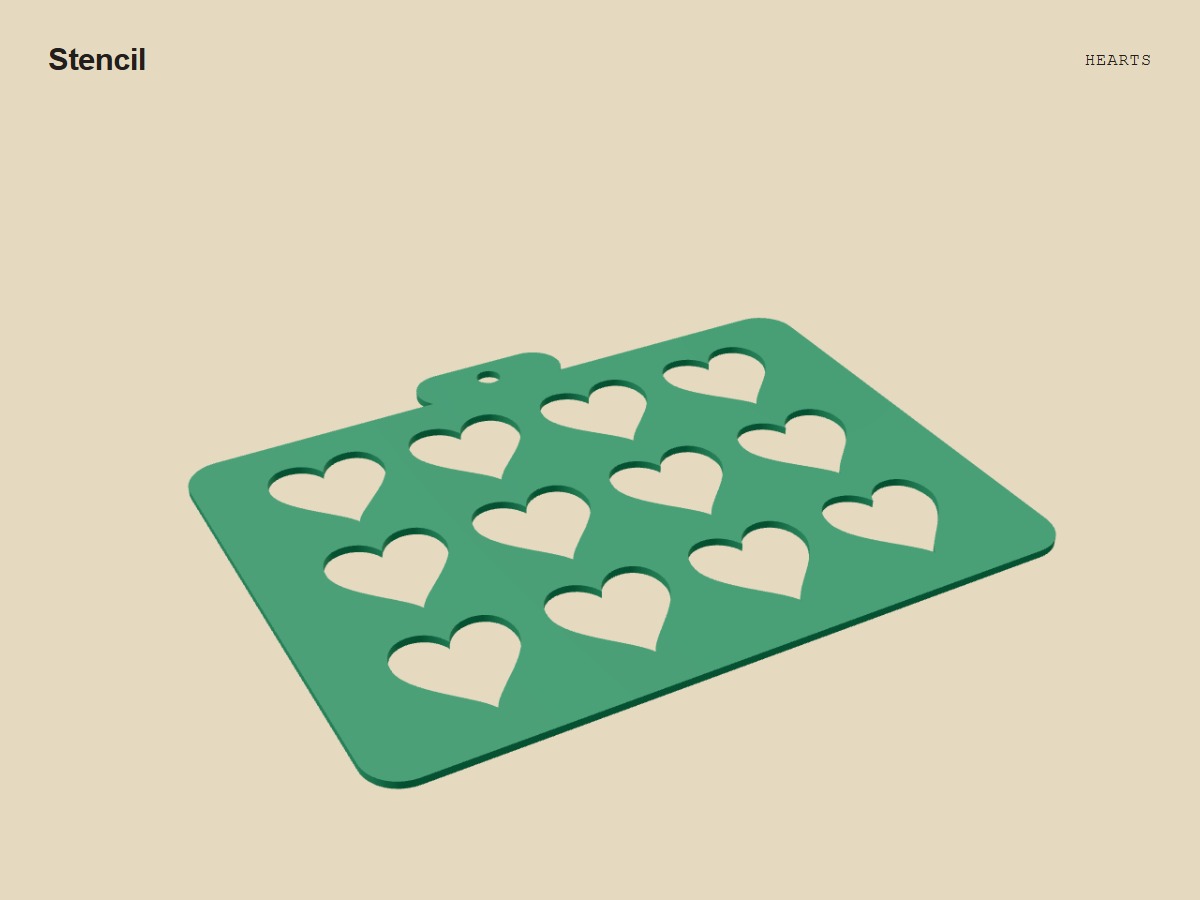
For artwork with enclosed details, such as the centre of a letter, adjustable support tabs help keep those details attached to the sheet. Review their placement in the 3D preview as you work.
Choose Stencil under Model type in the workspace. On the Stencil page, you can sponge colour through a real exported stencil and try different layouts before you start.
Texture Stamp: press a pattern exactly where you want it
A Texture Stamp gives you a flat working area for clay slabs, tiles and craft projects. Start with your own artwork or one of the Studio's built-in patterns. Keep a single composition or repeat a motif across the plate.
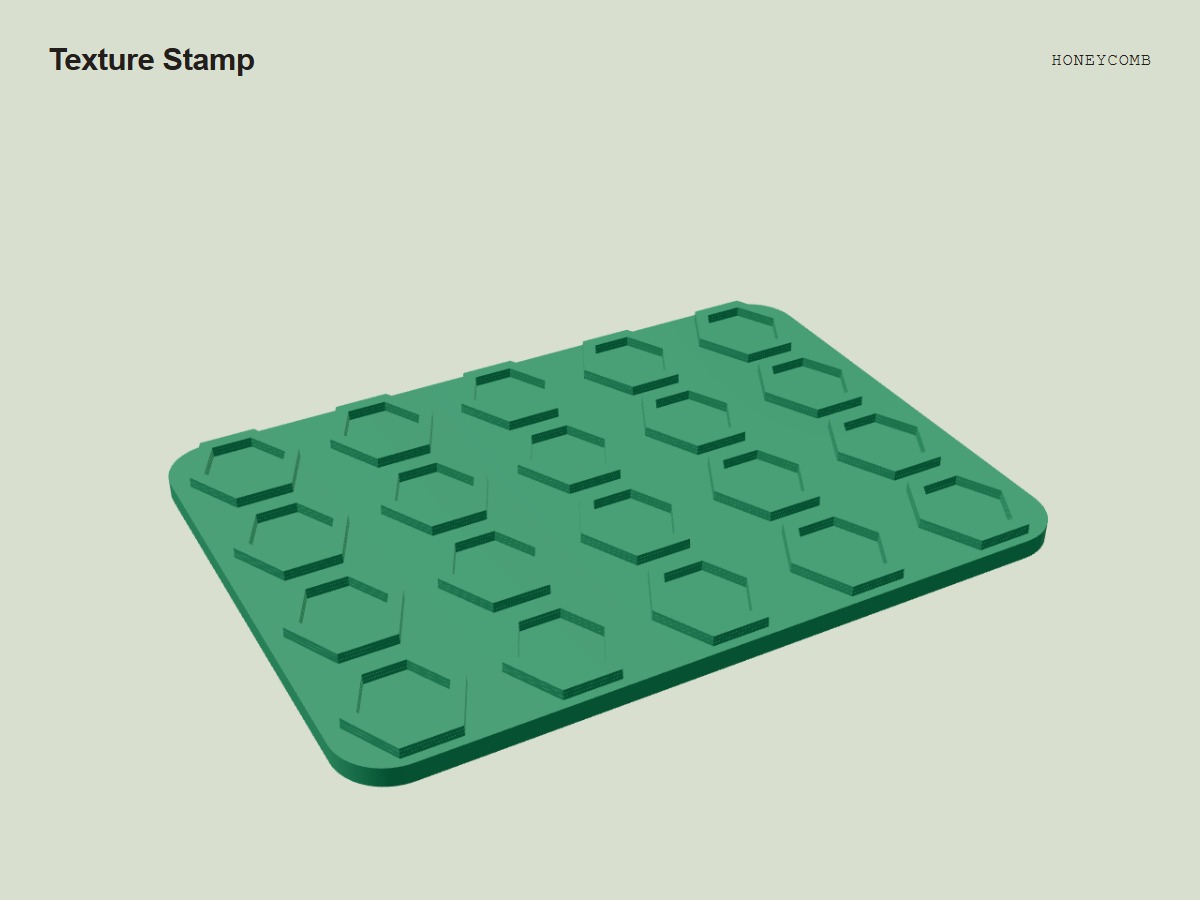
- Choose the plate size and outline.
- Set raised or recessed detail and adjust the texture depth.
- Use a plate on its own, or add a knob or palm grip.
The controls describe the stamp face: Raised up lifts the design above the plate, while Pressed in recesses it. On the Texture Stamp page, you can press a real Honeycomb stamp into clay and compare the two settings side by side.
More control over cutter blades and grips
Fine-tune the tool around the same cutting shape. The new options let you change how the blade and handle are built, and place support bars yourself.
- Step blade: keep a thin cutting edge with a thicker wall above it for support.
- Second cutting edge: add a second cutting wall around the same shape for a double outline.
- Shaped handle: add a slope or soften the grip's corners while keeping the cutting shape.
- Manual bars: add a support bar to the model, then drag, resize or rotate it into place.
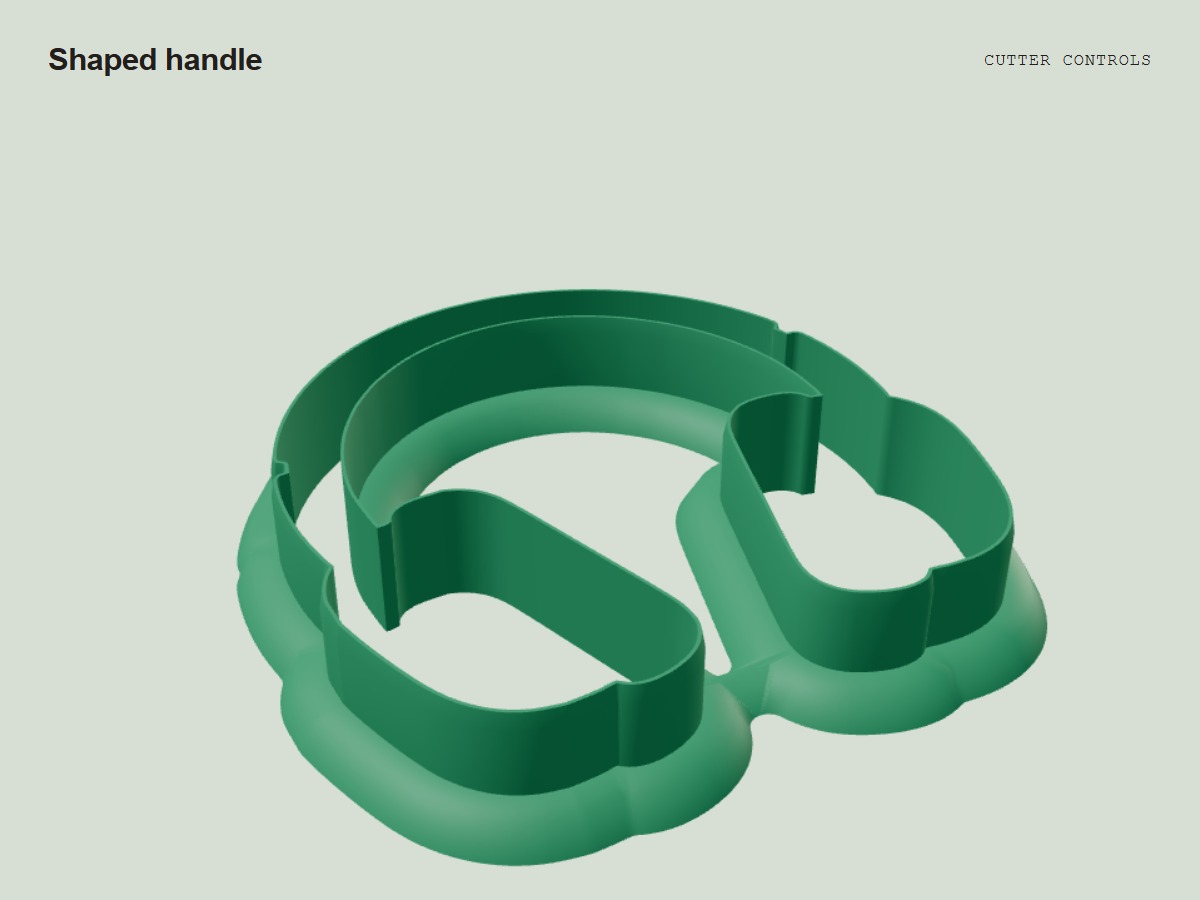
Preview these controls for free. Downloads that use them are available on Spark and Pro. You can compare the cutter examples in What's New.
Stamps and imprints, with more choice
- Backing thickness: choose the thickness of the plate behind the detail on stamps and imprint cutters.
- Remove outer outline: keep the inner detail without its raised outer border.
- Invert on Spark: switch raised and recessed detail on stamps and imprints. Previously a Pro option, this is now included on Spark too.
- Size labels on the grip: the label now sits on the handle surface so it shows on the printed tool.
Set up a collection, then adjust each design
Saved profiles now sit above the model controls. Apply a setup you already like, or save the settings you have just chosen for your next design.
In a batch, shared settings give you a starting point for the collection. You can then change the size, model type or settings of an individual design without changing the others.
| Option | What you receive |
|---|---|
| ZIP | One download containing a separate STL file for each design. Unzip it to use the files. |
| Individual STL downloads | Each design downloads as its own STL file. Your browser may ask you to allow multiple downloads. |
| 3MF plate (Beta) | One 3MF file with the designs arranged on a plate as separate editable objects. Open it in a compatible slicer. |
If a design fails in a batch, the completed files remain available. You can also switch the download format without waiting for those finished models to build again. Saved profiles and batch downloads are available on Spark and Pro.
Twelve ready-made patterns for Texture Rollers
You can now start a Texture Roller without uploading artwork. Choose dots, diamonds, honeycomb, chevron, waves, scallops, basket weave, brickwork, pebbles, leaves, stars or hearts, then adjust the size, repeat spacing and texture depth.
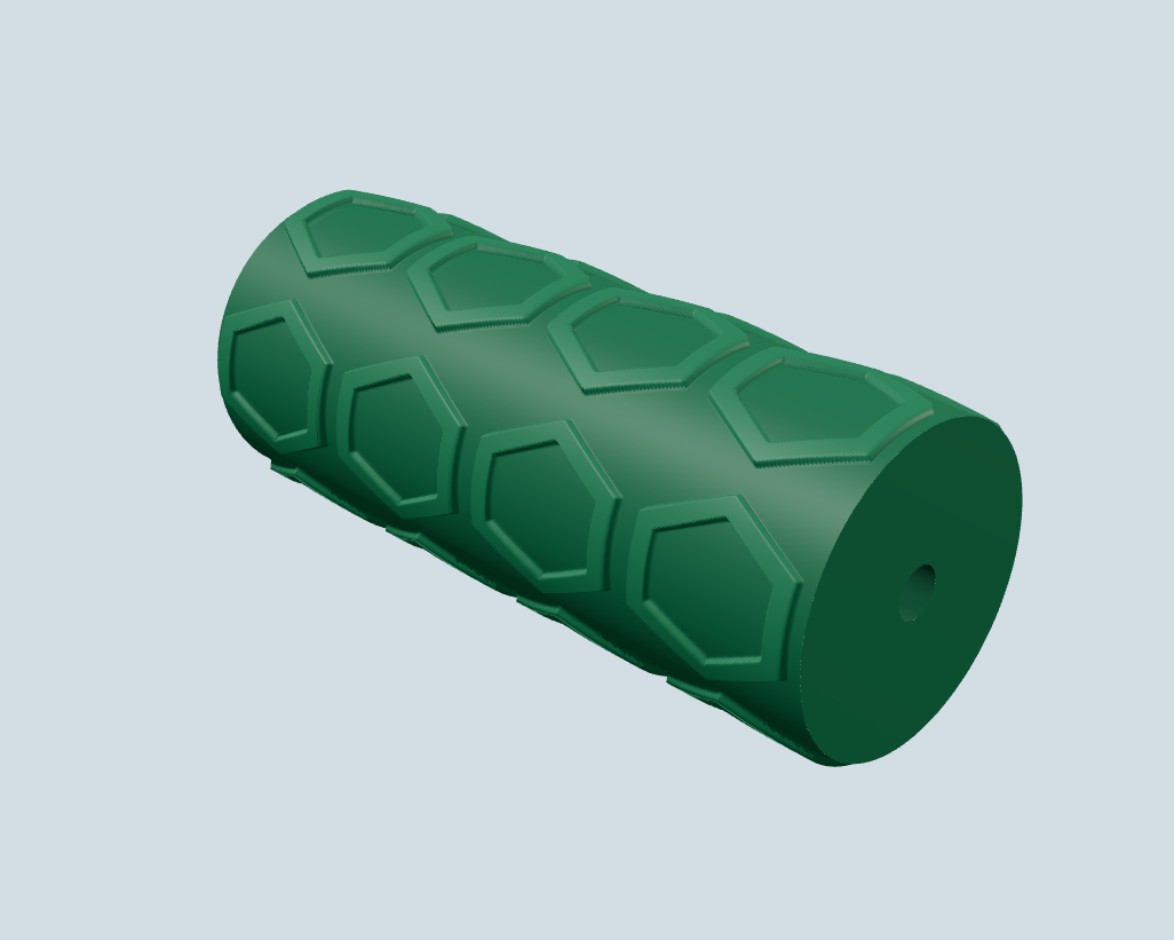
The controls are easier to browse too. Start with Roller size, then open Pattern & layout, Relief & detail, or Rod & handle when you need them. Pattern previews are free; Texture Roller downloads require Spark or Pro.
Find and organise your designs
Search My Designs by name or tag, filter by source and date, and sort by name or when a design was made. Add tags from a design card and choose colours that make your collections easier to spot.
Open a design to browse its available outline, cookie and clay images in one viewer. Zoom in, move between versions and download the image you need. Search and the image viewer are available on every plan; coloured tags are included on Spark and Pro.
A clearer starting point in Dreamboard
Dreamboard now makes its three starting points easier to find: write an idea, turn a photo into an outline, or plan a matching set. Review the designs on your board and open the ones you want in the workspace.
Dreamboard uses credits. When you use a photo, the cost is shown before tracing begins.
Useful changes around the Studio
- Workspace recovery: refresh or reopen a design during the same browser session and return to the settings you were using.
- Tips by project: find advice in the Baking, Clay and Texture sections.
- What's New in the Studio: open the release journal from the Explore menu to see the latest changes and try the model examples.
What is free, and what needs Spark or Pro?
Stencil and Texture Stamp are free to design and preview, with printing-file downloads on Spark and Pro. Standard Cutter and Imprint Cutter downloads remain available on Starter. Additional shaping controls, stamp and roller downloads, saved profiles and batch workflows use Spark or Pro. Dreamboard uses credits.
Try the new tools in the Studio
Frequently Asked Questions
- Are Stencil and Texture Stamp available on the free plan?
- You can design and preview both on Starter. Downloading their printing files requires Spark or Pro. Both tools are currently in Beta.
- What is the difference between a Texture Stamp and a Texture Roller?
- A Texture Stamp is a flat plate for placing texture in a defined area. A Texture Roller rolls a pattern across a surface. Choose the tool that fits how you want to apply the texture.
- How is a 3MF plate different from a ZIP download?
- A ZIP contains separate STL files for the designs. A 3MF plate is one file with the designs arranged as separate editable objects for a compatible slicer. The 3MF option is in Beta.
- Do I need my own artwork?
- Texture Stamp and Texture Roller offer built-in patterns. For a Stencil, start with a design in your library or upload artwork.